Ceiling fans with integrated halogen lights are both functional and stylish, providing illumination and air circulation in a single fixture. However, when the halogen bulb in your Roto ceiling fan burns out, roto f ceiling fan halogen light bulb replacement it promptly is essential to maintain the lighting in your space. This comprehensive guide walks you through the process of replacing the halogen bulb safely and efficiently.
Understanding Your Roto Ceiling Fan’s Halogen Light Bulb
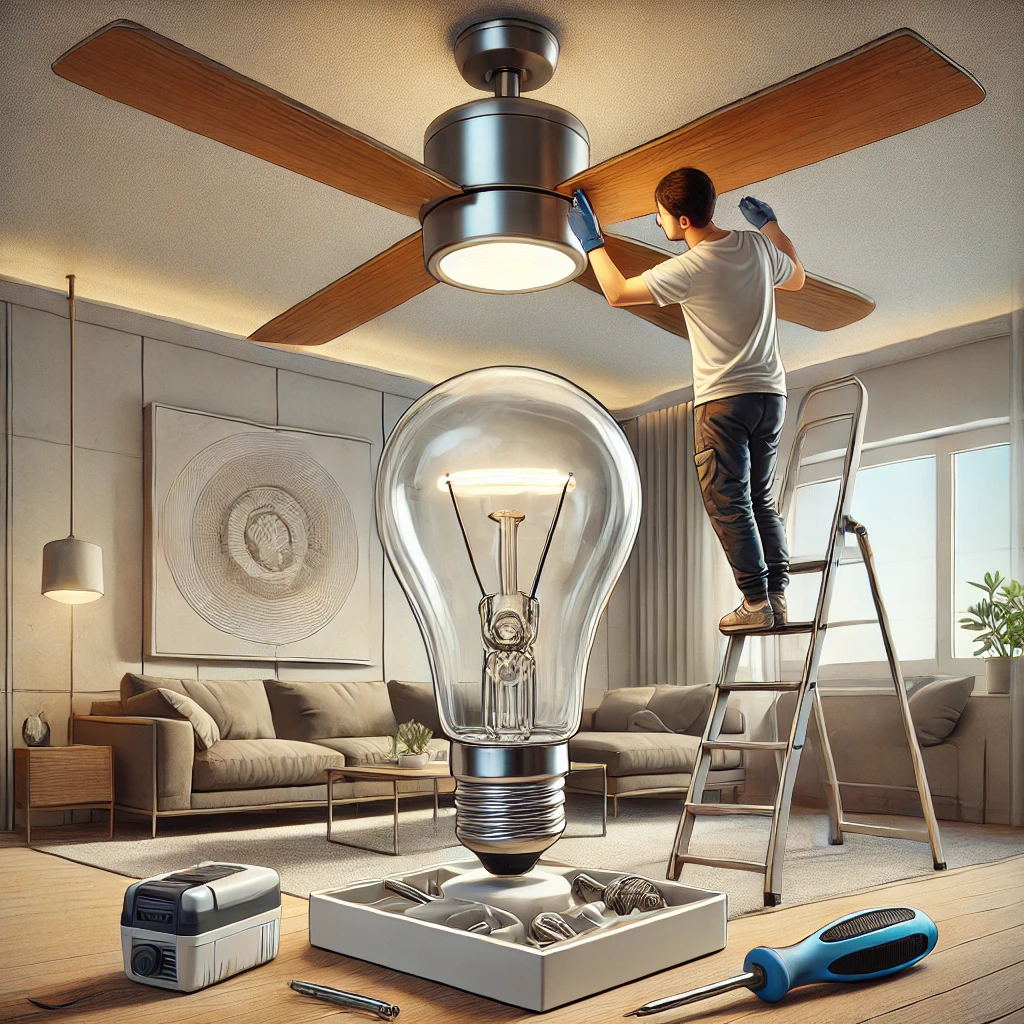
Before diving into the replacement process, it’s crucial to understand the type of bulb used in your roto f ceiling fan halogen light bulb replacement. Most ceiling fans equipped with halogen lights use G9, GU10, or J-type halogen bulbs, depending on the fan model. These bulbs are known for their brightness and energy efficiency but require careful handling due to their sensitivity.
Why Choose Halogen Bulbs for Ceiling Fans?
Halogen bulbs provide a crisp, bright light that enhances the ambiance of your room. They are also more energy-efficient than traditional incandescent bulbs and have a longer lifespan. However, they are sensitive to oils and dirt, making proper handling crucial during replacement.
Tools and Materials You Will Need
To replace the halogen bulb in your Roto ceiling fan, gather the following tools and materials:
- Replacement halogen bulb (ensure it matches the specifications of your fan model)
- Screwdriver (Phillips or flat-head, depending on your fan design)
- Soft cloth or gloves (to avoid touching the bulb with bare hands)
- Step ladder (for easy access to the ceiling fan)
- User manual (for specific instructions related to your Roto fan model)
Having these items ready will ensure a smooth replacement process.
Safety Precautions Before Replacing the Bulb
Roto f ceiling fan halogen light bulb replacement a halogen light bulb involves working with delicate materials and electrical components. Follow these safety precautions:
- Turn Off the Power: Switch off the ceiling fan and light fixture from the wall control or circuit breaker to prevent electrical shocks.
- Allow the Bulb to Cool: Halogen bulbs can get extremely hot during operation. Wait at least 15-20 minutes for the bulb to cool completely.
- Use Protective Gear: Wear gloves or use a soft cloth to handle the halogen bulb. Oils from your skin can damage the bulb and reduce its lifespan.
Step-by-Step Guide to Replacing the Halogen Bulb
Step 1: Remove the Light Cover or Fixture
Most roto f ceiling fan halogen light bulb replacement have a glass or plastic light cover that protects the halogen bulb. Follow these steps to remove it:
- Locate the screws or clips securing the light cover.
- Use a screwdriver to loosen the screws or gently unclip the cover.
- Carefully set the cover aside in a safe place to avoid damage.
Step 2: Identify the Burned-Out Bulb
Inspect the light fixture to identify the faulty halogen bulb. Look for signs of discoloration, broken filaments, or a bulb that no longer illuminates.
Step 3: Remove the Old Halogen Bulb
- Gently grasp the base of the bulb (using a cloth or gloves) and pull it straight out of the socket.
- If the bulb is stuck, wiggle it gently to loosen it. Avoid applying excessive force, which could damage the socket.
Step 4: Insert the New Halogen Bulb
- Unpack the new bulb carefully without touching its glass surface. Use a soft cloth or gloves for handling.
- Align the pins or base of the bulb with the socket and push it in firmly but gently until it clicks into place.
Step 5: Reattach the Light Cover
- Once the new bulb is securely in place, reattach the light cover by securing the screws or clips.
- Ensure the cover is snugly fitted to prevent it from falling or allowing debris inside.
Testing the New Bulb
After completing the replacement, restore power to the ceiling fan and light fixture. Test the new halogen bulb by switching on the light. If it does not work, double-check the following:
- The bulb is properly seated in the socket.
- The power supply is turned on.
- The replacement bulb matches the correct specifications.
If the issue persists, consult an electrician or the roto f ceiling fan halogen light bulb replacement customer support team.
Tips for Prolonging the Life of Halogen Bulbs
To maximize the lifespan of your Roto ceiling fan’s halogen bulb, consider these maintenance tips:
- Avoid Touching the Bulb: Oils from your skin can create hotspots on the bulb, leading to premature failure. Always use gloves or a cloth.
- Clean the Fan Regularly: Dust buildup can cause overheating, reducing the efficiency of the bulb and fan.
- Use Compatible Dimmer Switches: If your fan has a dimmable light, ensure the dimmer switch is compatible with halogen bulbs to avoid flickering or damage.
- Turn Off When Not in Use: Reducing operating hours minimizes wear and tear on the bulb.
Common Issues and Troubleshooting
What If the Bulb Keeps Burning Out?
Frequent bulb burnout may indicate an electrical issue or incorrect bulb wattage. Verify the wattage specified in the user manual and consult an electrician if needed.
What If the Light Flickers?
Flickering can be caused by loose connections or incompatible dimmer switches. Check the socket and wiring, or replace the dimmer switch with a compatible one.
What If the Bulb Doesn’t Fit?
Ensure you’ve purchased the correct bulb type. Refer to your Roto ceiling fan’s manual or contact the manufacturer for guidance.
Conclusion
Replacing the halogen light bulb in your Roto ceiling fan is a straightforward process when done correctly. By following the steps outlined in this guide and adhering to safety precautions, you can restore your fan’s lighting functionality efficiently. Regular maintenance and proper handling of the bulb will ensure it lasts longer, saving you time and effort.